Low-Fidelity Prototyping: Your Blueprint to Design Success
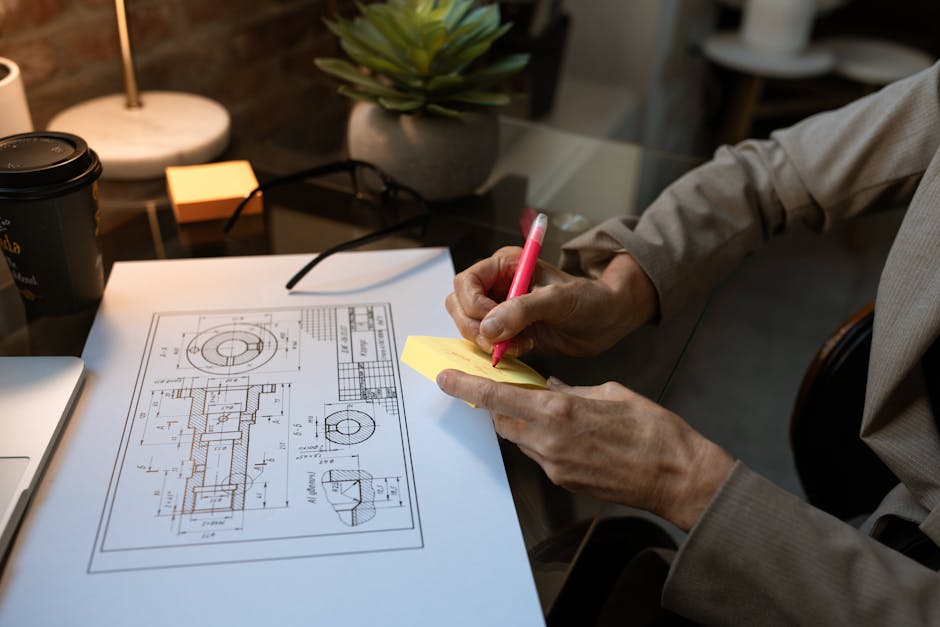
The Accidental Genius of a Napkin Sketch
Imagine Steve Jobs, mid-flight, sketching out the revolutionary Macintosh interface on a cocktail napkin. It sounds almost too simple, right? Yet, this seemingly rudimentary act embodies the core principle of low-fidelity prototyping – distilling complex ideas into their most basic, tangible forms to spark innovation and clarify direction early on.
This article will guide you through the essential world of low-fidelity (lo-fi) prototyping, a foundational technique in user experience (UX) and product development.
Table of Contents
- What is Low-Fidelity Prototyping?
- Why Choose Low-Fidelity Prototyping?
- Types of Low-Fidelity Prototypes
- How to Create a Low-Fidelity Prototype
- Myth vs. Fact: Low-Fidelity Prototyping
- Pro-Tips for Effective Lo-Fi Prototyping
- Conclusion
- References
What is Low-Fidelity Prototyping?
Low-fidelity prototyping refers to the creation of early-stage, simplified representations of a product or digital interface. These prototypes prioritize core functionality, structure, and user flow over visual design, aesthetics, or detailed interactivity. Think of them as blueprints or sketches – they convey the essential layout and intended user journey without getting bogged down in the finer details.
Lo-fi prototypes are typically quick to create and inexpensive, making them ideal for exploring initial concepts and validating ideas before significant resources are invested.
Why Choose Low-Fidelity Prototyping?
The advantages of embracing low-fidelity prototyping are numerous, impacting efficiency, cost, and the quality of user insights gathered.
Speed and Efficiency
Creating lo-fi prototypes, especially paper-based ones or basic wireframes, takes a fraction of the time compared to high-fidelity, interactive mockups. This speed allows design teams to explore multiple ideas rapidly and move forward with validated concepts more quickly.
Cost-Effectiveness
Minimizing upfront investment is a significant benefit. Lo-fi prototypes require minimal tools and resources, often just pen and paper or basic digital drawing tools. This drastically reduces the financial risk associated with exploring unproven design directions. For startups especially, employing effective Rapid Prototyping can be a game-changer for validating concepts affordably. In parallel, advancements in 3D Printing Prototyping also offers significant cost and time savings for physical product development.
Early User Feedback
One of the most critical aspects of lo-fi prototyping is its suitability for early user testing. By presenting a simplified representation, you can gather crucial feedback on the core concept, navigation, and information architecture without users being distracted by visual elements. This ensures the fundamental structure resonates with users before polish is applied. Understanding user needs deeply, through methods like Empathic Design, can further refine this feedback and ensure the product truly meets user expectations.
Focus on Core Functionality
Lo-fi prototypes force designers and stakeholders to concentrate on what truly matters: the essential features and how users will interact with them. This prevents premature focus on color palettes, typography, or animations, which can be addressed later once the core user experience is sound.
Types of Low-Fidelity Prototypes
Several common methods fall under the umbrella of low-fidelity prototyping:
Paper Prototypes
These are hand-drawn sketches of screens or interfaces, often on paper or index cards. They are incredibly fast to produce and easy to modify. Users interact by pointing to elements, and the facilitator (often the designer) manually simulates the transitions and responses.
Wireframes
Wireframes are digital, schematic representations of a product’s layout and structure. They typically use grayscale, simple shapes, and placeholder text to show the placement of content, navigation, and interactive elements. They are more structured than paper prototypes but still lack visual design.
Flowcharts
While not strictly a visual prototype of an interface, flowcharts are crucial lo-fi tools for mapping out user journeys and decision paths. They visually represent the sequence of steps a user takes to achieve a goal, identifying potential branches and points of interaction.
How to Create a Low-Fidelity Prototype
Building an effective lo-fi prototype follows a structured, iterative process:
Define Goals
Before sketching anything, clearly articulate what you aim to achieve with this prototype. Are you testing a new feature, validating a navigation flow, or exploring a core concept? Understanding your goals will shape the prototype’s focus.
Map User Flows
Outline the key tasks users will perform and the steps they will take to complete them. This helps ensure the prototype covers essential user journeys and interactions.
Sketch Key Screens/Elements
Based on your goals and user flows, begin sketching the primary screens or interface elements. Focus on layout, content hierarchy, and key interactive components. Keep it simple – boxes, lines, and basic text are sufficient.
Iterate and Test
Once you have a rudimentary prototype, share it with stakeholders and, ideally, potential users. Observe their interactions, gather feedback on clarity and usability, and then refine the prototype based on these insights. This cycle of testing and refinement is where the real value of lo-fi prototyping lies.
Pro-Tip: When testing paper prototypes, have multiple people act as different “screens” or “states” to simulate complexity and ensure quicker responses during user testing. This keeps the session dynamic.
Myth vs. Fact: Low-Fidelity Prototyping
Let’s debunk some common misconceptions:
-
Myth: Low-fidelity prototypes are only for beginners.
Fact: Experienced UX professionals and top companies like Google and Airbnb heavily rely on lo-fi prototyping for initial concept validation and rapid iteration, regardless of their team’s experience level. -
Myth: Low-fidelity prototypes are too basic to yield meaningful feedback.
Fact: The simplicity of lo-fi prototypes encourages users to focus on fundamental usability and logic rather than aesthetics. This often leads to more direct and actionable feedback on core functionality and navigation. -
Myth: Low-fidelity prototypes are only for screen-based digital products.
Fact: Lo-fi principles can be applied to physical products, service design, and even organizational processes. Anything that can be represented by flowcharts, sketches, or simple models can benefit from lo-fi prototyping.
Important Warning: Don’t get so caught up in the speed of lo-fi prototyping that you skip crucial user testing. The whole point is to get feedback early and often, so ensure your testing phase is robust, even with simple artifacts.
Pro-Tips for Effective Lo-Fi Prototyping
- Embrace Imperfection: The goal is clarity, not polish. Don’t strive for artistic perfection; focus on conveying the intended structure and flow.
- Use Consistent Conventions: Even with simple sketches, use consistent shapes for buttons, text blocks, and images. This makes the prototype easier to understand.
- Test with Representative Users: Feedback from the right people is invaluable. Ensure your testers reflect your target audience.
- Focus on One Thing at a Time: If testing a specific flow or feature, keep the prototype focused on that element to avoid overwhelming users.
Conclusion
Low-fidelity prototyping is an indispensable tool in the modern design and development toolkit. It provides a rapid, cost-effective, and insightful way to explore ideas, validate core concepts, and gather essential user feedback early in the process. By embracing the simplicity of lo-fi, you lay a robust foundation for building successful, user-centered products.
What challenges have you faced when introducing low-fidelity prototyping to your team, and how did you overcome them?
References
- Nielsen, J. (2001). Low-Fidelity Prototyping. Nielsen Norman Group.
- Snyder, C. (2019). Paper Prototyping: The Fast, Inexpensive, and Easy Way to Design and Test User Interfaces. CRC Press.
- Cooper, A., Reimann, R., & Cronin, D. (2014). About Face: The Essentials of Interaction Design. John Wiley & Sons.
- Buxton, B. (2010). Sketching User Experiences: Getting the Design Right and the Right Design. Morgan Kaufmann.
- MIT Open Learning Library. (n.d.). User Interface Design. https://ocw.mit.edu/courses/electrical-engineering-and-computer-science/6-831-user-interface-design-spring-2003/lecture-notes/prototyping.pdf
Featured image by RDNE Stock project on Pexels